I took the plunge and painted my kitchen table with chalk paint.
We bought this table about 6 or 7 years ago at a local department store and it has given us a lot of use over the years. But the color is just something I cannot stand anymore.
I debated for over a year about painting it. Because I have heard the arguments against painting wood furniture. But here's what made me take the leap. This is not solid wood. Its veneer. I don't consider any piece of furniture that has veneer a piece worth preserving. Plus, if I screwed it up?
I had every intention of getting rid of it, for one that worked. So what was I losing by jumping into the Chalk paint pond? Here is the before shot. This is what it looks like just wiped down with a simple cleaner, no furniture oil. The only thing that made this piece bearable, was furniture oil.
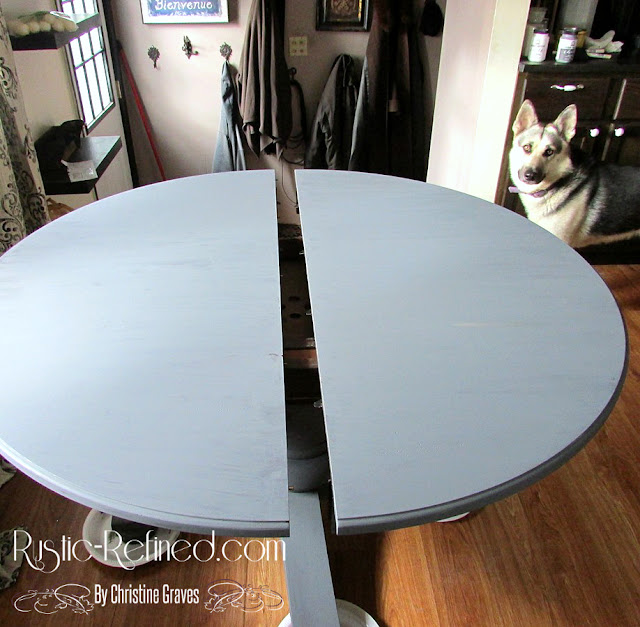
So off to the craft store I went to find chalk paint. If I was going to do this experiment, I was going for cheap chalk paint not any expensive everyone knows your name types. I'd rather have a $20 dollar fail, then a $100 fail. Here's the table with 2 coats of dark grey chalk paint from JoAnn Fabrics. I even used a cheap sponge brush.
Oh and for those of you who chat it up with me on Facebook, the styrofoam plate trick, totally worked! Those plates were there for 2 days AFTER I stopped painting, and they didn't stick to the legs. Easy peasy protection for my floors.
Here is the top with one coat of white
Two coats of white
I started using 120 grit sanding paper to distress and started thinking this isn't turning out good. So I brought out 2 white chairs from my Dining Room, and two black chairs I had in a closet.
You can see my Blitz's face, he wasn't liking it either. So I walked away from it and left it for 2 days.
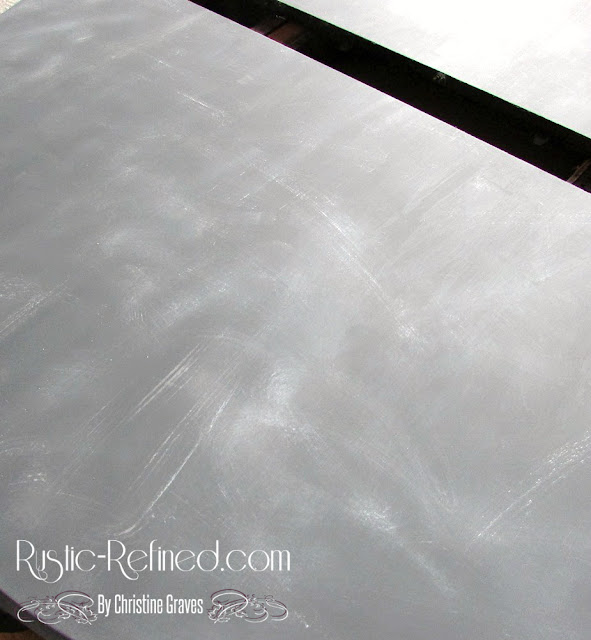
I didn't like it. Back to the drawing board! I repainted the top with two coats of grey again. Then I tried my hand at the dry brushing technique, using white chalk paint.
I still wasn't feeling it! It just wasn't clicking. The white brush technique I did was just too stark in some areas. It felt to stark. So I grabbed the grey again and did light light barely any grey on my brush (not a sponge) swipes over the white. And I started to see some good come through.
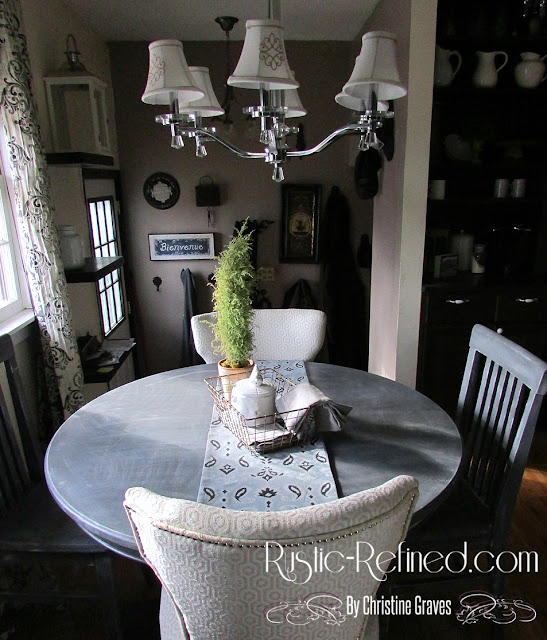
Now it clicked! To protect it from wear and tear I did a lot of research and decided to poly the top, instead of wax. Everyone agreed waxing would have to be a 3 to 6 time a year thing. Polyurethane doesn't require that much maintenance.
I used a WATER BASED poly with a satin finish. I had read a few articles where oil based poly's can have a yellowish hue that really shows up, plus water based is easier clean up.
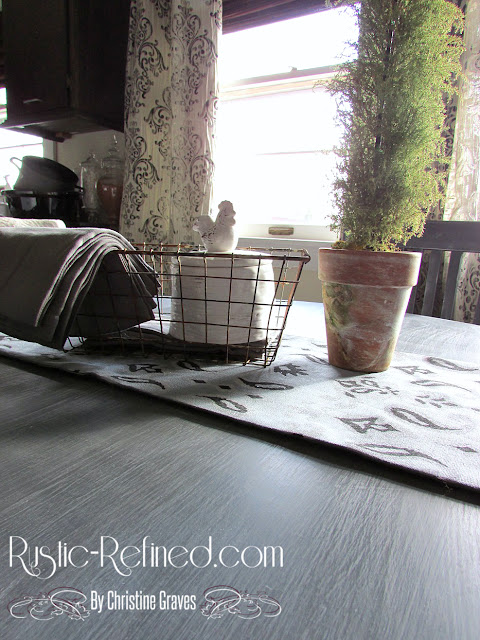
After each coat of poly, I lightly sanded it with an extra fine grit sandpaper and used my hand as a guide to tell me when to stop. I would just run my palm across the wood looking for small bumps or ridges until they were gone. This thing is as smooth and silky as a butter!
I am loving it!
In some areas I'm thinking it looks like concrete and in others, it looks like a piece of driftwood
The white chairs are going to stay, so the dining room will need a tweak if people insist on sitting at that table.
And, I am going to need new curtains in this room
The black chairs I had stored in a closet for years got the same paint technique. Dark grey with one light dry brush of white.
Not bad for my first attempt at chalk painting!
I'll keep it!
XO,


